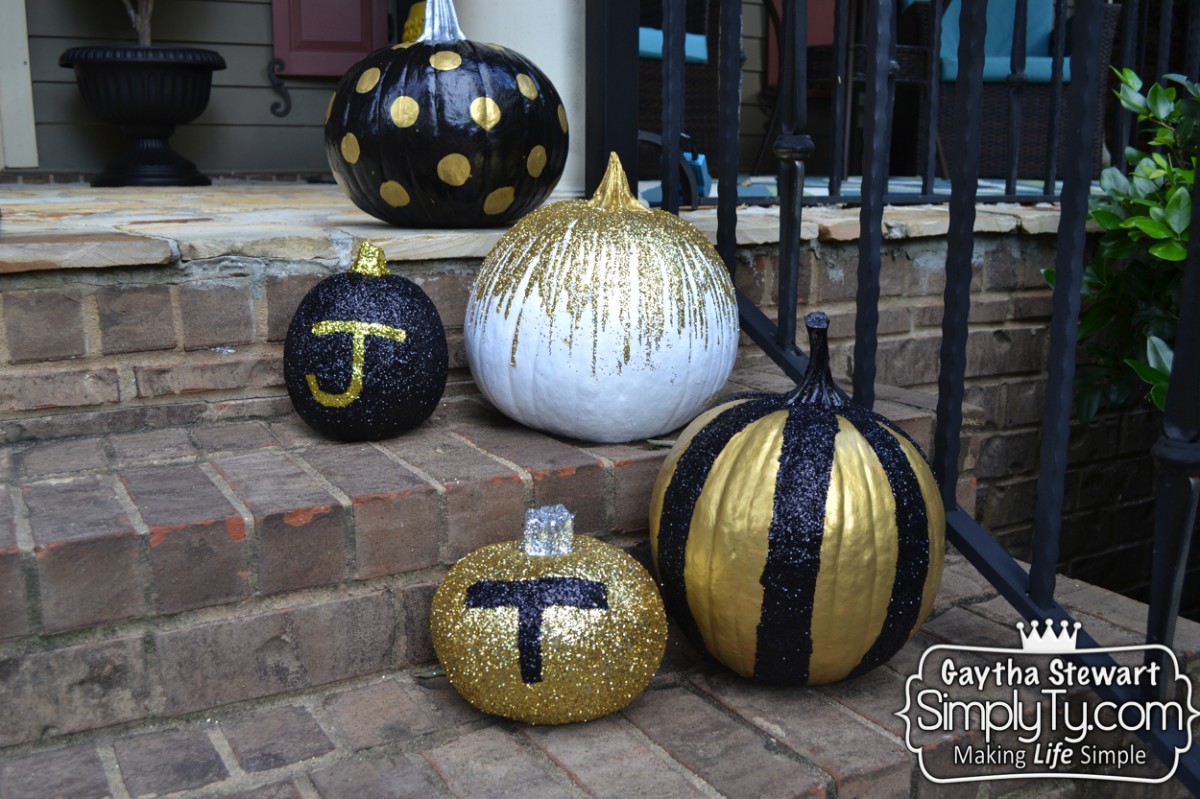
Happy Monday! This year I’m getting a little more into the Halloween spirit like I mention in Halloween Lanterns. I’ve also mentioned in my Glittered Frames post, I love everything thats glittered & gleams. So, why not glitz those pumpkins up too. Who wouldn’t want their pumpkins to shine and glisten like a diamond when guest approach their door? Heres how to Paint & (or) Glitter your pumpkins for a fabulous and amazing look. These were actually fun to paint, I even got my best friend to help with painting them, and he’s not really a crafts type of person LOL.
Here is what you will need:
For the Painted Pumpkins-
Exterior Acrylic Paint
Paint Brushes
Washed & Cleaned Pumpkins
Tape (if you want to do different Designs)
For the Glittered
Exterior Acrylic Paint
Paint brushes
Glitter
Mod Podge
First make sure to wash and clean your pumpkins!
Next, if your going to paint them with a design go ahead and tape your design out. Paint the sections you want as the design, (I did simple stripes) make sure to remove the tape while the paint is still wet (prevents and jagged edges & peeling)
Now Fill in whatever other colors you want to paint (I painted the stripes black)
TIP ALERT! Dont paint the whole pumpkin then try to apply tape on top of the paint, it will peel the paint off!
Now Here is where I got creative with it, I went back on top of the black paint and added Mod Podge and black glitter (the same color paint underneath prevents gaps between glitter from showing)
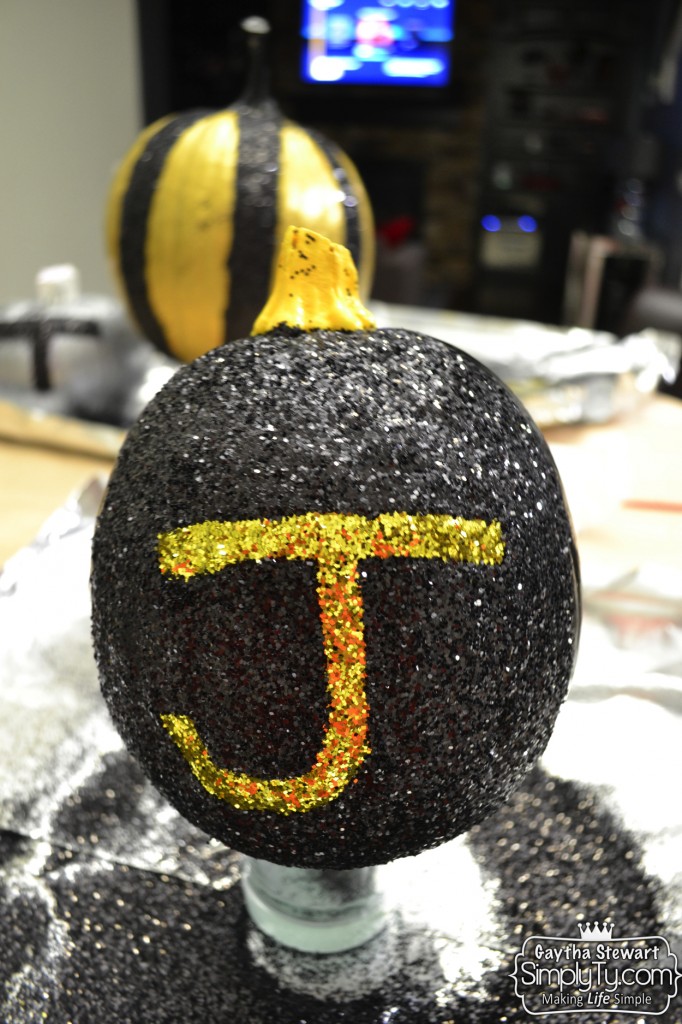
To do a fully glittered initial pumpkin, draw and add mod podge first (after pumpkin is painted) and then add glitter to the initial
Once the Initial has dried, you can glitter the rest of the pumpkin. Its way easier to glitter the initial first.
Now for the rest, its really whatever design your heart thinks of, if you want a fully painted pumpkin like this one, I just used round sponge brushes for the polka dots.
The white pumpkin “drizzled” Mod Podge and added glitter to make it look like dripping paint (well glittered paint 🙂 lol)


Leave a Reply